Getting Started
About#
ActiveWorkflow works alongside your existing technology stack to give you an easy and structured way to:
- Group business logic for periodic execution—for example, to generate and distribute a weekly PDF report.
- Poll resources—for example, to check if a file has become available on S3.
- Orchestrate event-driven functionality—for example, to trigger a customised email campaign in reaction to a pattern of user behaviour.
You can do all of the above by creating, scheduling, and monitoring workflows of agents, which are self-contained services (or microservices) written in any programming language you choose. ActiveWorkflow as a platform gives you a simple way for connecting your agents (services), extensive logging, state management, and a foundation to build a scalable and reliable system without vendor lock-in.

Running ActiveWorkflow#
Depending on what tools you are familiar with there are a few different ways you could run ActiveWorkflow:
Running Locally With Docker#
You could run ActiveWorkflow locally using Docker. To do so you need to have Docker installed. If you are on a Mac see Install Docker Desktop on Mac. On Linux please use your package manager, or follow this docker installation guide. To run ActiveWorkflow locally with Docker simply run the following command:
Once it starts you can login at http://localhost:3000 with admin/password.
If you would like data persistence you could use the following:
The ActiveWorkflow image has a PostgreSQL database server included and runs all processes in one container. For production use we would recommend using an external database and multiple containers to run web, scheduler, and worker respectively. For more information on this please see Deployment Using Docker.
Running Locally With Docker Compose#
To install docker-compose please see Install Docker Compose.
To run ActiveWorkflow (with a PostgreSQL database in a separate container) issue the following command inside the project directory:
This starts a ActiveWorkflow instance locally at http://localhost:3000 with the login credentials admin / password.
You can stop containers by issuing:
Running Locally Without Docker#
To run ActiveWorkflow locally without Docker you would effectively follow very similar steps to running it locally for development. Thus, please see Development for more information.
Running on Heroku#
Another easy way to try out or to start using ActiveWorkflow is by deploying it to Heroku. If you are reading this document in a browser you can click the button bellow, fill in the environment variables for your seed user (admin), and deploy ActiveWorkflow to your Heroku account:
SEED_USERNAMESEED_PASSWORD(which must be at least 8 characters long)SEED_EMAIL
Please note that while a free Heroku plan can be used to try out ActiveWorkflow, it would not be sufficient for real use. The button above deploys ActiveWorkflow in single-dyno mode, which is sufficient for demonstration or getting-started purposes (and is the only way to run ActiveWorkflow on Heroku's Free plan). For production use you should remove (or set to '0') the SINGLE_DYNO environment variable, and in addition to the web dyno, you should also start scheduler and worker dynos.
Using ActiveWorkflow#
Once you have ActiveWorkflow up and running you will want to create instances of some agents and most probably to arrange them in one or more workflows. This is illustrated in the example diagram below where a1-a6 are six agents and w1-w3 are three workflows these agents participate in. Also note that you can use ActiveWorkflow via its web interface and its Client REST API.
You can read more about the Typical Use Cases of ActiveWorkflow.
Agents and Agent Instances#
Agents in ActiveWorkflow are similar to classes in object oriented programming. To use an agent you have to create one or more instances of it, each with its own name and configuration. This applies both to built-in agents and your own agents, which you can write in any programming language and connect to ActiveWorkflow via the Remote Agent API.
Creating Agent Instances#
You can create agent instances using the web interface. In the near future you will be able to create agent instances programmatically as well by using the Client REST API.
Creating Your Own Agents#
To make the most out of the platform you can write and connect your own agents. Your agents will appear on the web interface alongside the built-in agents and you can create multiple instances of them. Read about the Remote Agent API to see how you can create your own custom agents, and Examples of Agents to see examples of agents in various programming languages.
It's also worth mentioning that to program custom logic you can also create instances of the built-in JavaScript agent. Instances of this agent execute JavaScript code that can send and receive messages while implementing your business logic.
Creating Workflows#
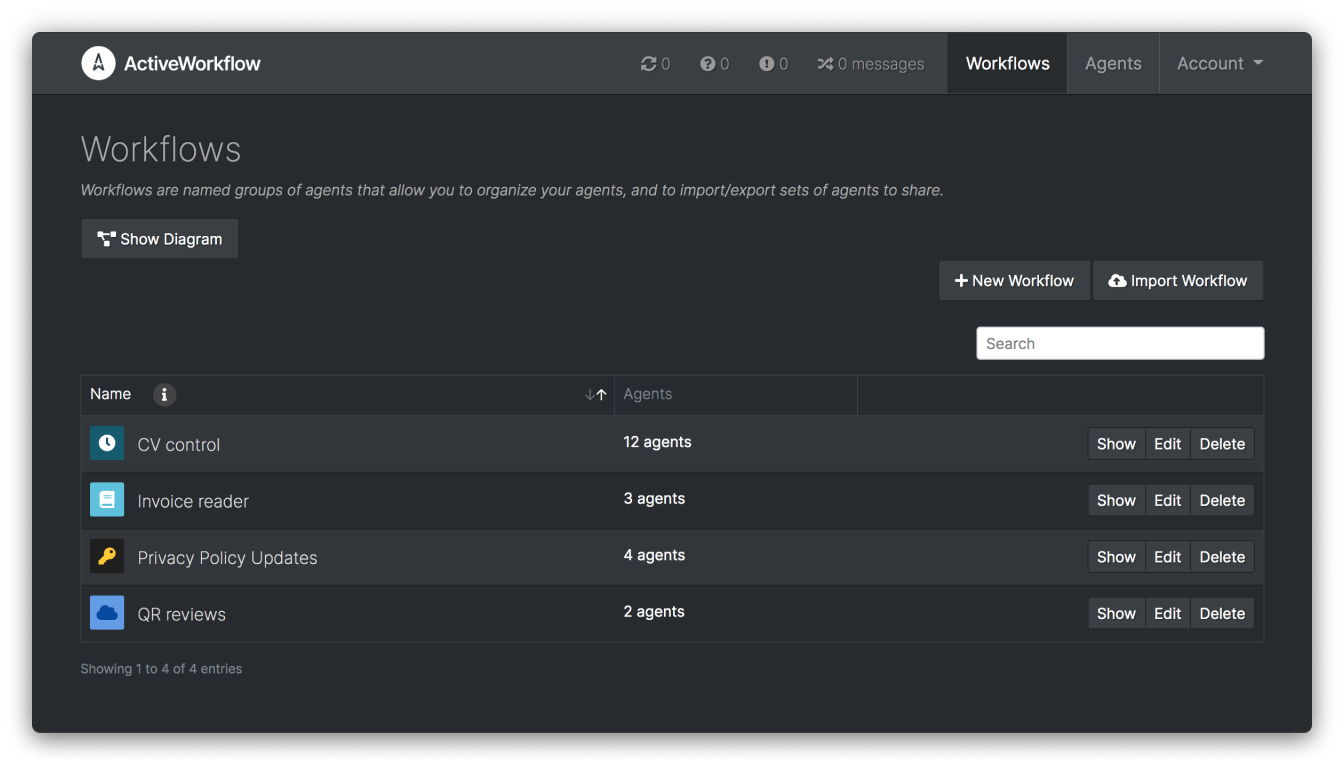
To create a workflow you can simply use the web interface (the "New Workflow" button) to enter a name, a description, to select an icon for your workflow, and then to link to it the agent instances that participate in it. As we mention in ActiveWorkflow Basics each agent instance can participate in multiple workflows and functions regardless of whether it participates in any workflows or not. Workflows are more like 'tags' or 'labels' rather than 'containers' that contain the agent instances that participate in them.
In the near future you will also be able to create workflows programmatically via the Client REST API.
